I was not aware of just how POPULAR tie dying has become during quarantine! I have several times in the past tie dyed clothes to see if I could do something fun with a shirt that had become a dingy white or a piece of clothing I was no longer wearing because I was bored with it. In the past, this has been a pretty haphazard process with whatever Rit Dye I had around the house (I like dying clothes, so I often have a lot lying around).
I've never gone to summer camp or attended any sweet teenage sleepover tie dye parties (that a thing, I'm sure of it), so mostly I historically bunched up articles of clothing put rubber bands on them and dumped them into a single dye color. Results have greatly varied.
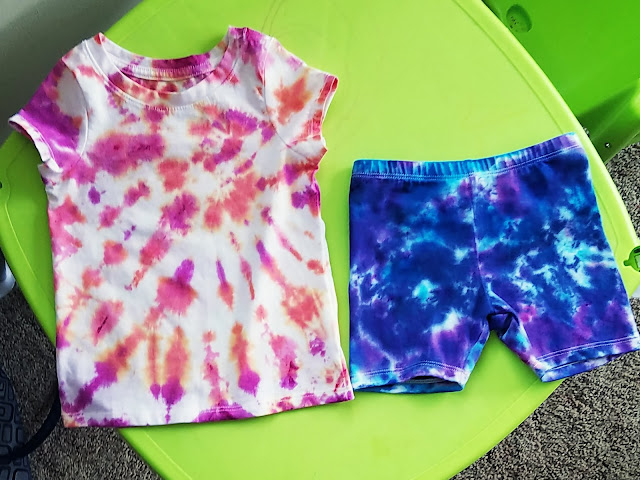
However, this time I really wanted to do it right! Daycare stained the tie dye shirt they made with my son last year, one of his favorites, and I wanted to make him a new one with lots of vibrant colors. So I bought a kit online by Tulip for about $20. I recently have seen that kit sold for anywhere between $20-60 on Amazon - I really thought it was perfect so I would buy it again, but I would never be able to stomach paying $60 for it.
What I liked most about the kit was the variety of colors and that they came in reusable squeeze bottles (if you bought refill dye packets). The provided instructions for the overall tie dye process were pretty decent and included a lot of tie dye pattern instructions, as well. I would strongly recommend you read through all the instructions and tips before starting. Also, far warning, even with wearing the included plastic gloves, I got covered in dye (which may have been both figuratively and literally "on me").
I grabbed some of my t-shirts I wanted to refresh and one of Viktor's. I also rang up my mom, sisters, and FBIL to see if they wanted to tie dye anything as well, since the dye only lasts for 72 hrs after you make it and I was using a bunch of colors either way - and I obligatorily love them and was seeing them that weekend anyway.
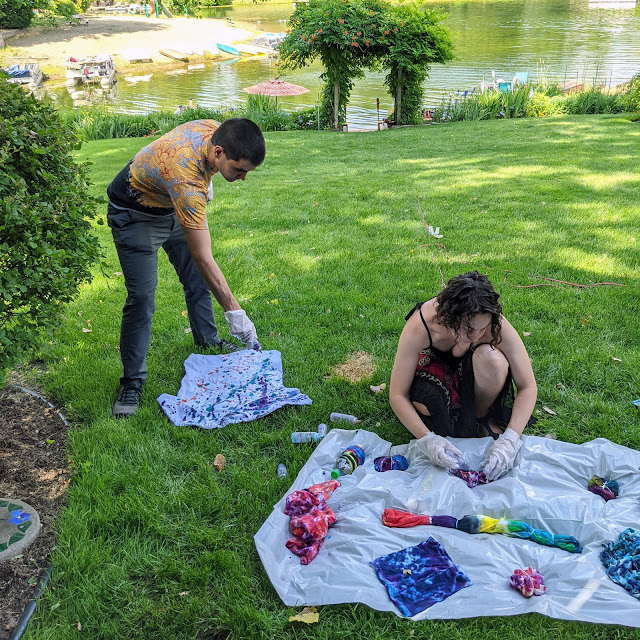
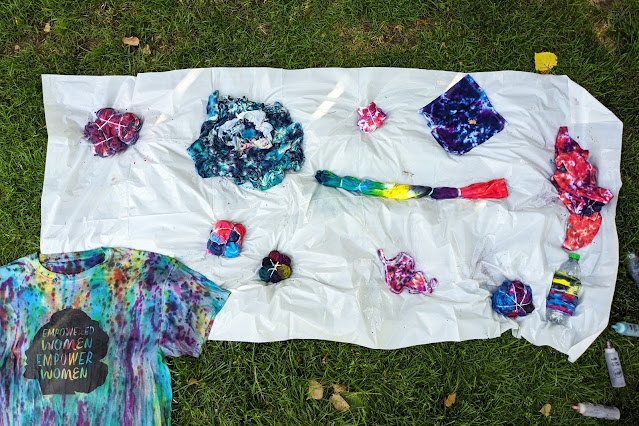
We decided on several different tie dye patterns among us and chose the dry method of tie dying. Which basically amounts to you not wetting your clothes before dying them. Once we had all the clothes rubber banded up, we got busy adding water to the colors we decided on using.
Dying the clothes was only as difficult as you made it on yourself. The more you had very specific outcomes in mind, the more frustrating the process was. Once everyone let go of expectations and just started throwing colors they liked onto the clothes, the more fun it became.
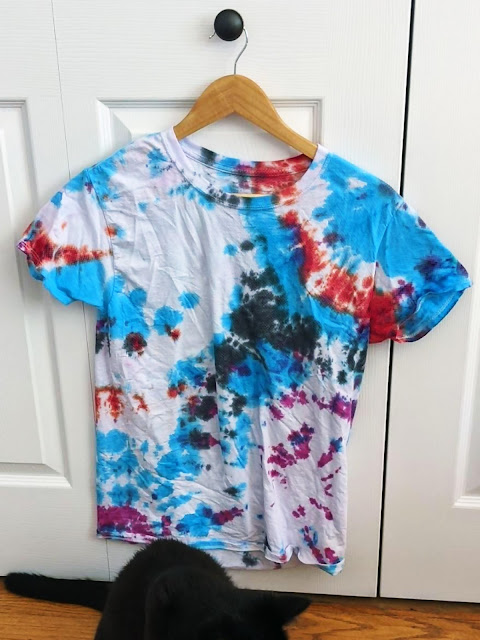
Honestly, the only one that really turned into a disaster-ish state was my shirt that I attempted to dye per instructions using a cylinder base (see fire extinguisher). The dye was not penetrating all the wrapped layers of the dry shirt. I ended up taking it off the fire extinguisher and trying to dye it flat and then poured some water on it to mix the colors... none of which really was the best fixes in hindsight.
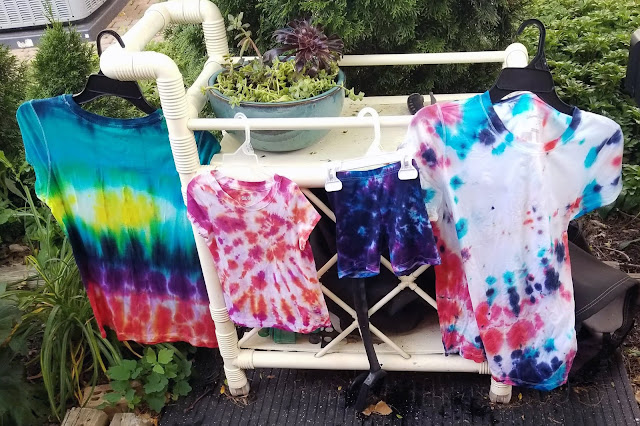
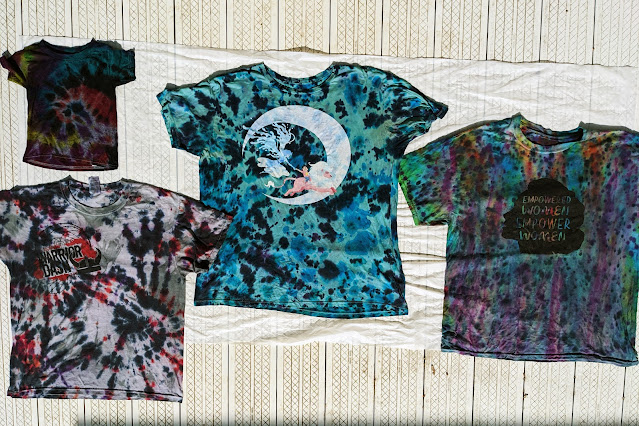
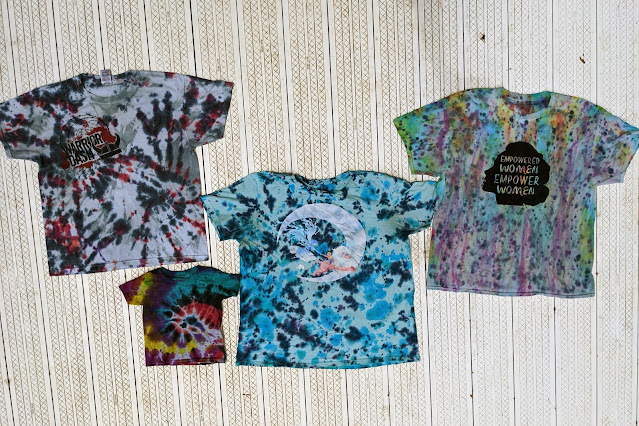
While I'm still not over the moon with my one shirt, the rest turned out REALLY well. After we let them sit, plastic bagged, in their own juices for 18 hrs. (6 hrs. is the minimum here) and then rinsed out the extra dye with clean water, we saw how pretty our results were going to be.
The next step was washing them in super hot water and detergent to get the rest of the remaining dye off (it's worth doing this the first few washes so you don't accidentally dye any other clothes you may be washing them with in the future). This is a fingers crossed situation as all of your pretty colors may fade or disappear if you haven't correctly dyed the fabric. So far, our results have been really positive after our first washing.
I would absolutely do all of this again (if cost effective) in the future - I had A TON of fun and really liked the results!



Comments
Post a Comment