DIY Valentines

Mark and I went to a craft date night at the Lansing Makers Network for Valentines Day this year. Honestly, it's easily one of the funnest things we've done for Valentines Day. 
Lansing Makers Network Valentines DIY

I haven't made jewelry since I was in High School and I honestly forgot how much fun it could be. 
Lansing Makers Network Valentines DIY

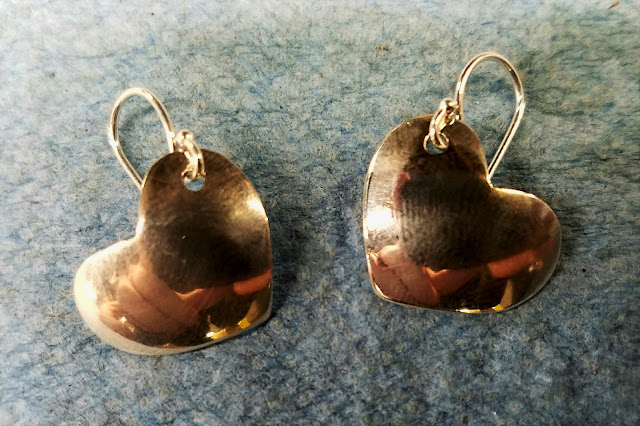
Mark made me a pendant.
Lansing Makers Network Valentines DIY

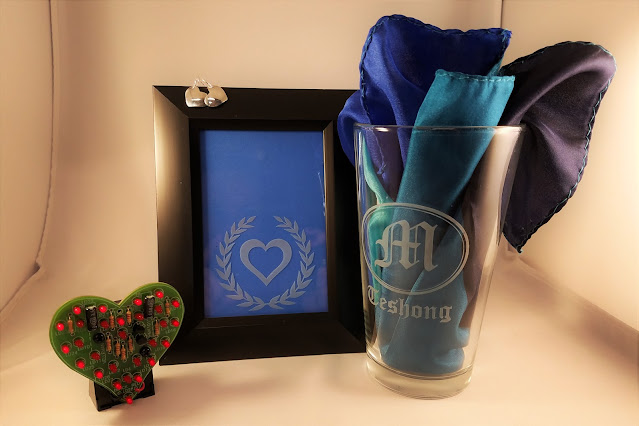
We were given the opportunity to design a pattern to sandblast onto glasses and then got to actually use a sandblaster to customize our glasses. I loved it!
Lansing Makers Network Valentines DIY

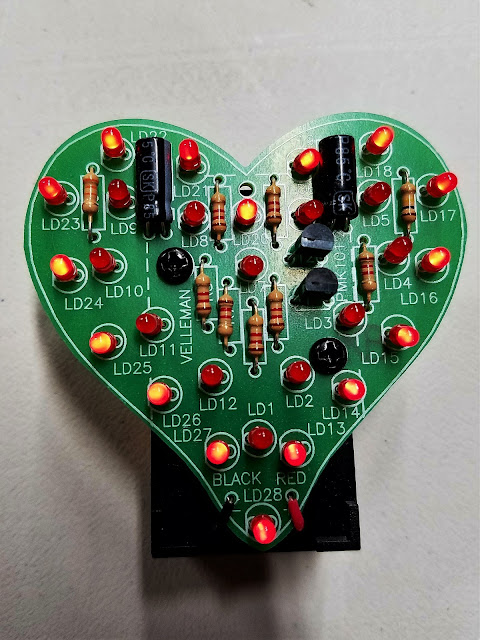
I've soldered when making jewelry, but this was the first time I got a chance to do it while making something electronic. I would absolutely do this again.
Lansing Makers Network Valentines DIY

I really could not recommend this more highly! I would do this every year!

Comments

Popular posts from this blog

Wedding Felt Animal Masks

Sarah redesigned the animal masks for me and I could not be more pleased with the results (we are referring to them as the chibi versions)! They are much more appropriately proportioned for smaller faces and printing ease. She even remade all of the patterns for me!  Head over here to see how I made my very first felt animal mask.  This is going to be a long post, as I am going to share all of them here. However, I am not going to go into the details. This is really more of a way for me to show off Sarah's amazing designs and my hard work! Bat:   Bear:   Fox:   Giraffe:   Golden Retriever:   Hippo:   Liger:   Owl:   Panther:   Red Panda:   Sloth:   Snake:   Tiger:   Wolf: If you're interested in buying these masks or the digital templates (with instructions) to create your own, check out my Esty shop: MarstenCo !...

New House Colors

Our new home is not open concept. It has many distinct  rooms, which I'm currently loving and enjoying picking out paint colors for. I love a house with character and color, but I don't think it should overwhelm. When deciding my colors,  I chose some basic neutral grays, bieges, whites, and blacks that could be used as connecting colors throughout the house. I also made sure any connecting rooms had colors that complemented each other. Next, I determined a focal design element (painting, furniture, flooring, etc.) that helped defined the room's aesthetic and took into consideration the era the house was built in. Lastly, I used Sherwin Williams  to make personalized color schemes for each room to keep me inspired and focused. Below are the colors I've chosen for each room - don't judge until you see how phenomenally each room turned out (click the links to see)! Living Room : Dining Room : Kitchen: Library: Master Bedroom : Nursery : Guest Room: Upstairs Bathroom: ...

Nursery Remodel

There wasn't a huge need to do much more than update the paint colors and refinish the hardwood in the upstairs. But I was excited to get our son's room ready to go and inviting for him. It was the top priority when we started working on the house, as we wanted to make the transition as comfortable for him as possible.  The carpet was down when we bought the house, but outside of that, here's what we started with: If you haven't noticed, I am very partial to blues, teals, greens, grays, and oranges. I think it would be hard to leave my house without being aware of that. Hopefully, our son is into that as well! You might have noticed that his bookcases and changing table have fun backings. As He outgrew his muslin blankets and I needed to start hiding cords from him, I temporarily adhered the blankets to the backs.